Create #group (suomeksi)
Create new #group
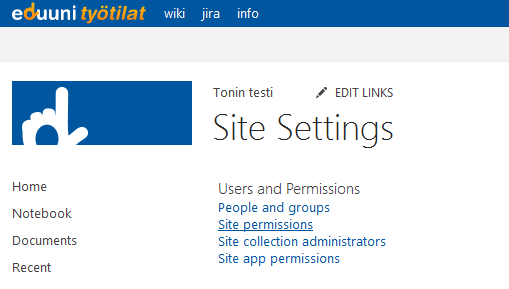
- Go to the site settings
- Choose Site permission under the Users and Permissions.
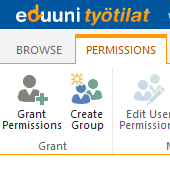
- Select Create Group from toolbar.
- Give a name to the group. Name has to start with #-character, for example #it department.
- Specify Group owner, for example Group Admins.
- Change also other settings if needed.
- Select Create button to create group.

Change existing group to #group
Go to the group settings

Add #-character to the begining beginning of the group name. You can also change the group name if needed.

| Info |
|---|
When naming a #group it's good to consider that every user can query #groups from Eduuni-services. If #group is created in some other site than https://tt.eduuni.fi/groups/.. it needs to have permission to root site of workspace. if If #group name is changed permissions are not updated automatically and they need to be changed manually. |
Related articles
| Content by Label | ||||||||||||||||
|---|---|---|---|---|---|---|---|---|---|---|---|---|---|---|---|---|
|
| Page properties | ||
|---|---|---|
| ||
|