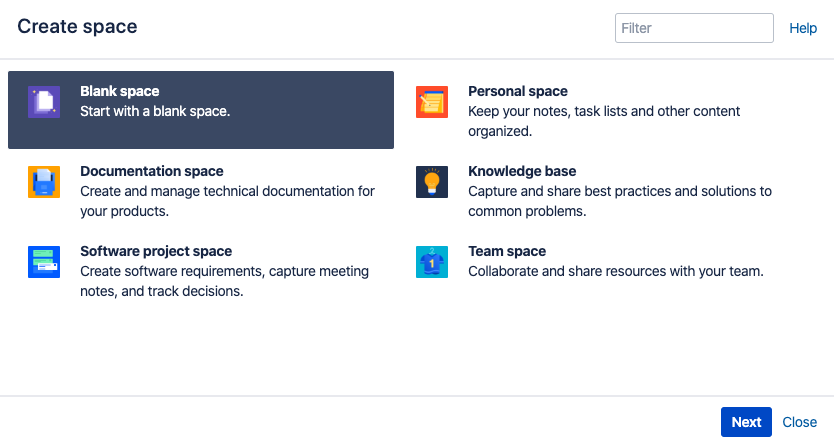
Guide for the organisation customer's wiki admin on how to create a new wiki site.

How to create a wiki space (Suomeksi)

  1. Choose "Create Space" from the Spaces menu item.
  2. Choose the base blueprint for this new wiki space. Blank space is good default choice.


  3. Give the name and key of wiki space. Space key must include the abbreviated name of your organisation, e.g. cscspace.


  4. After creating the space you should define the user permissions. Define space permissions: Space Tools → Permissions.
  5. The permissions can be given to individual users or globally usable Eduuni #groups, or for @domains e.g. @csc.fi. 
  6. To add a new user or #group to the permissions list, search for either a group or user in their respective sections and choose Add. You can use the Search tool by adding * -sign before the entry (*groupname).
    The #group or user will appear in the list of groups; select the specific permissions you'd like to apply and choose Save all. You can bulk assign or revoke permissions by selecting Select All or Deselect All.
  7. NB! Remember to add the space owners and organization's admin users as space admins. 


    Be careful with these groups!

    Confluence-users = all logged in users (Everyone can register Eduuni-ID account and sign in)

    Anonymous = public,  non logged-in users


    Example of space permissions, you can define the permissions according to your needs:

  8. Finally, lets define some meta information about the space. Go to Space Tools → Overview. Add your organization's short identifier and customer model to Categories, ie:
  9. Space is now ready to be used.